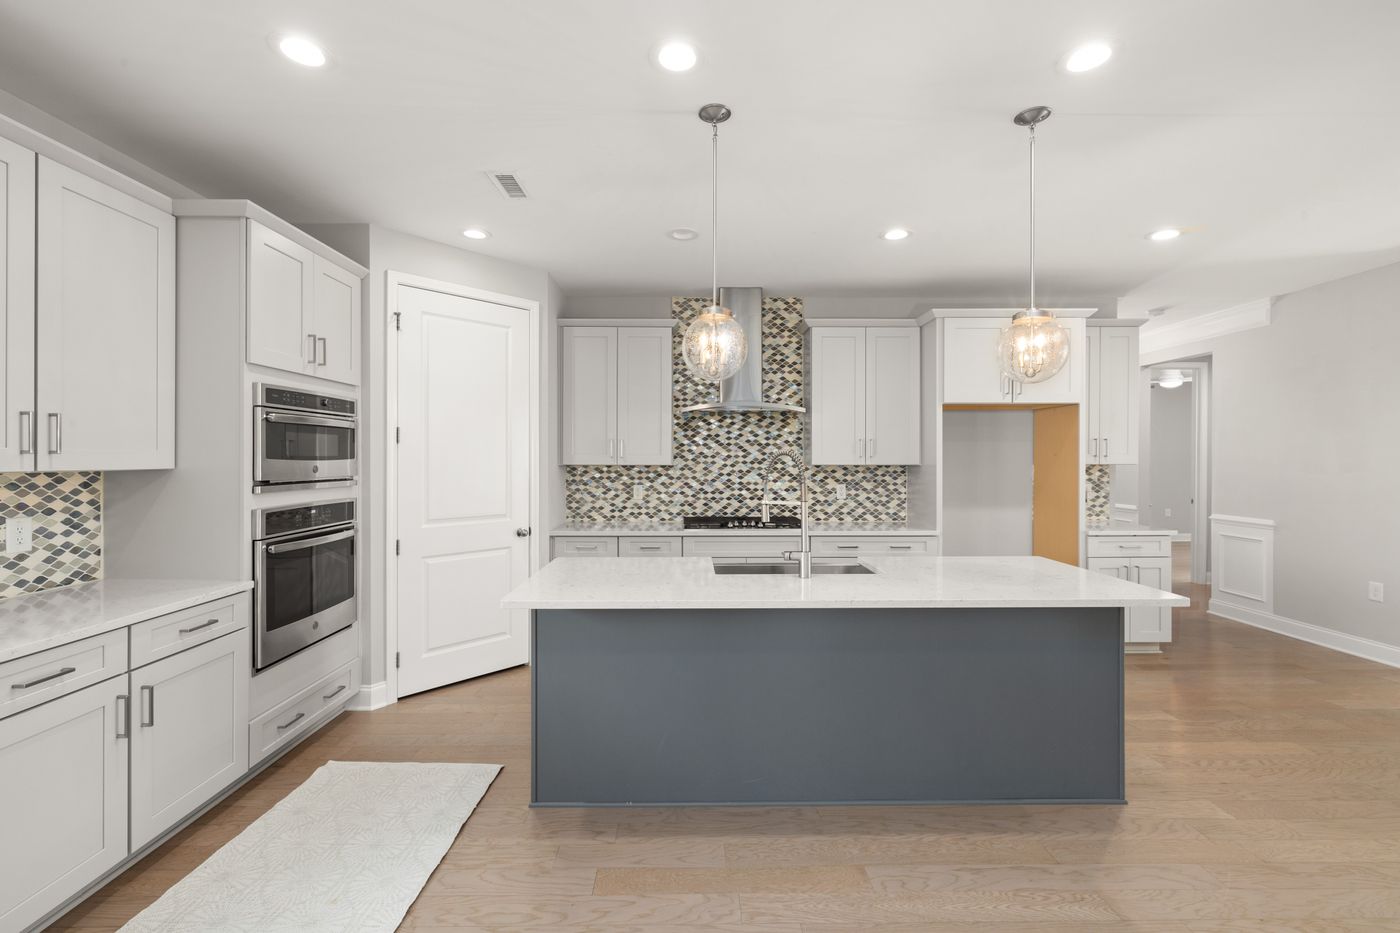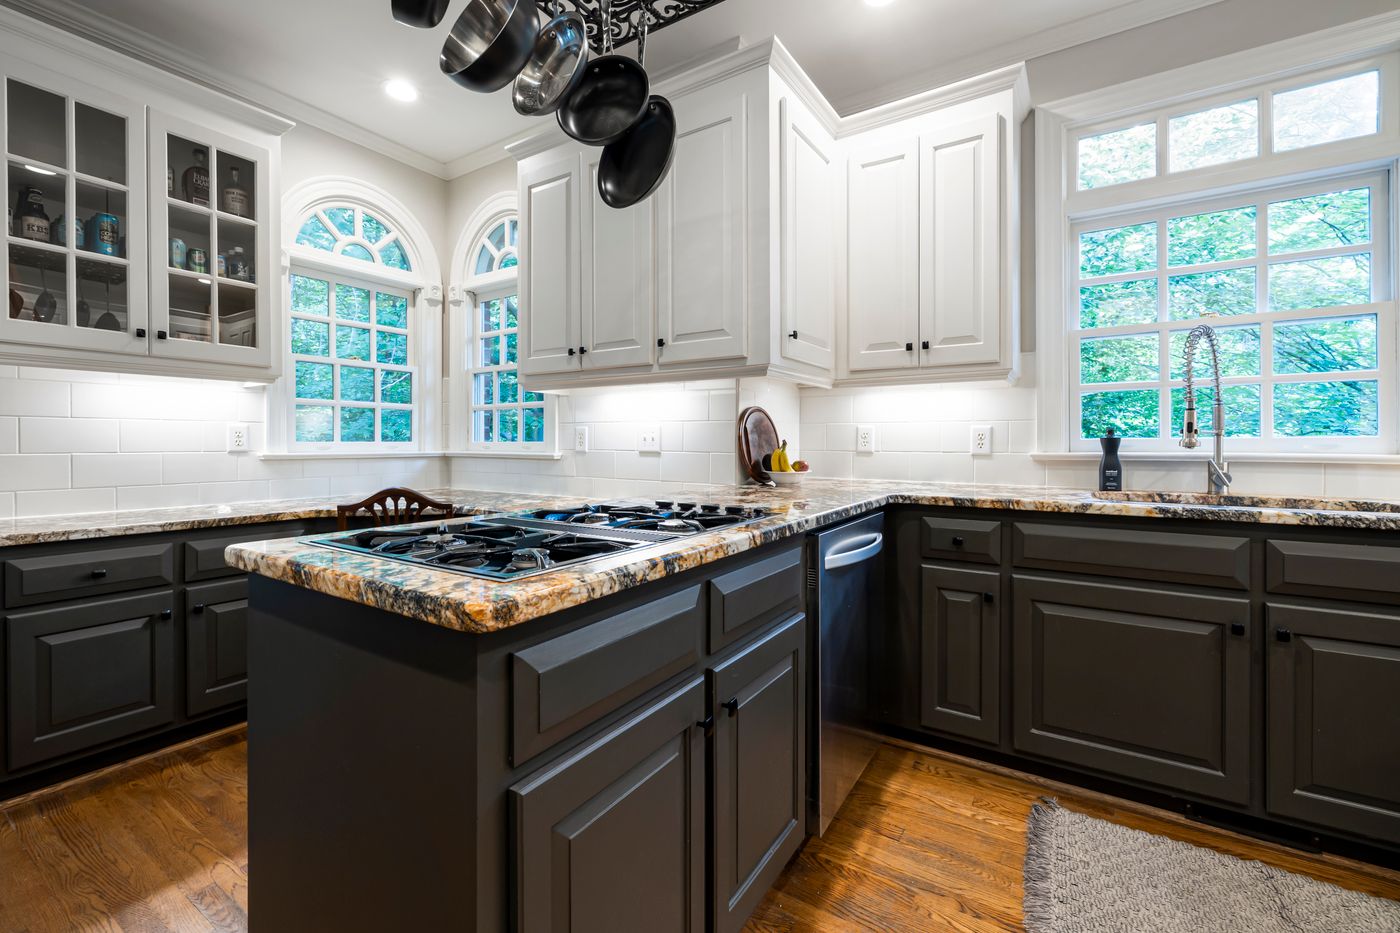
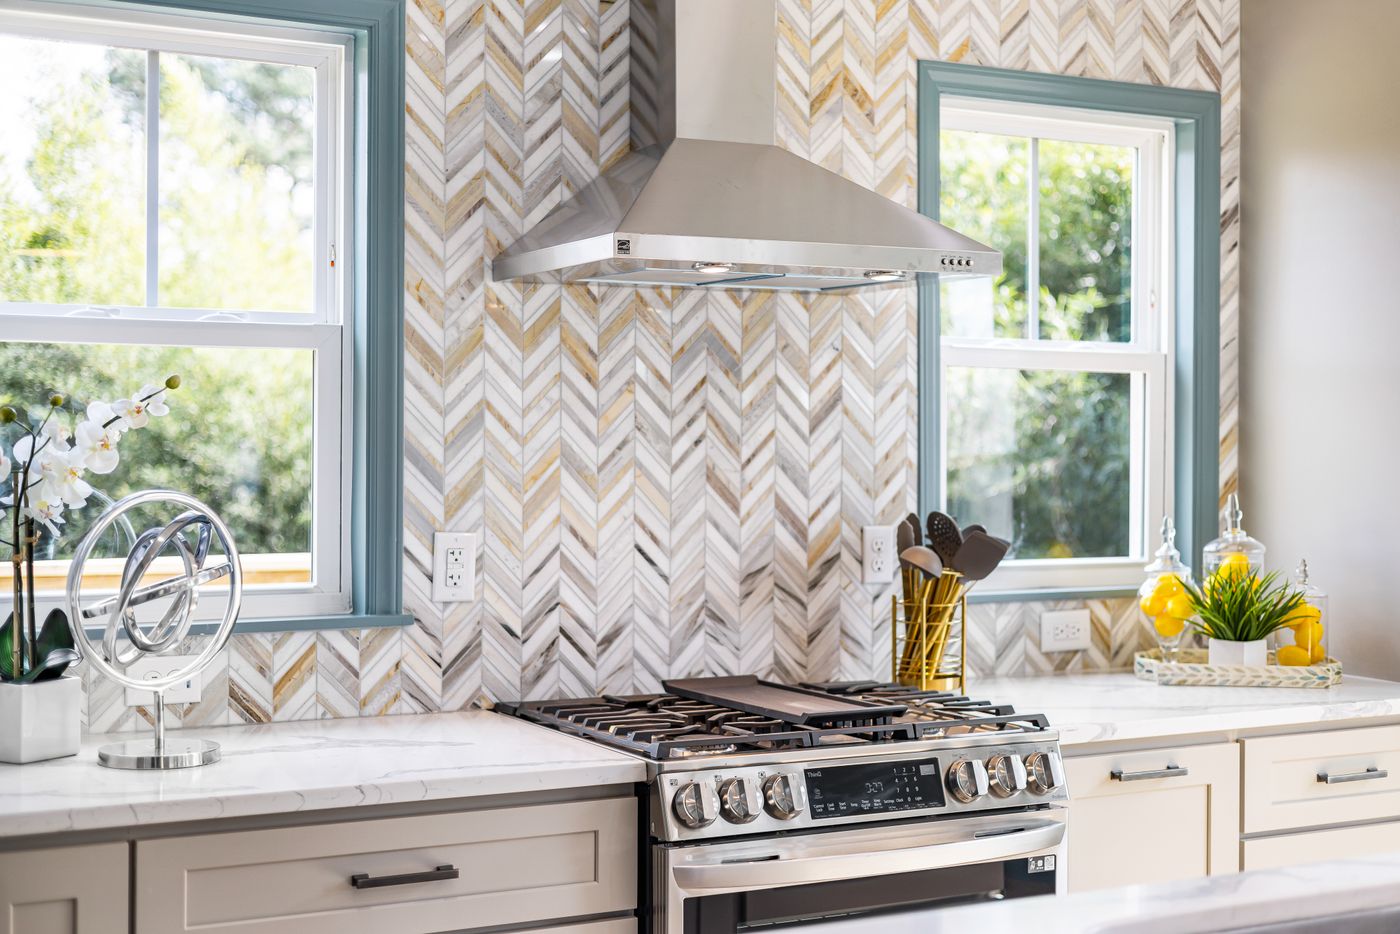
A backsplash occupies a narrow band of wall, yet small layout decisions can make it feel finished or improvised. Plan the tile field against the cabinets and countertop before the first cut is made.
Pick an intentional end point
Where should the material stop at a window, open wall or cabinet end? Walk the kitchen and mark each termination. A sample board may look good on its own but leave an awkward last strip beside a doorway or range hood.
Draw outlets and switches on the elevation
A tile pattern can meet receptacles at unfortunate points. Record every outlet and switch, the upper cabinet line and any under-cabinet lighting. Electrical changes should be planned by the appropriate trade before finishes go on the wall.
Match the cleaning load
A heavily textured tile and many grout joints can take more work to clean behind a cooktop. Glazed ceramic, porcelain, stone and other materials have different care needs. Ask how the selected finish and grout handle cooking splashes and cleaning products.
Follow the cabinet and counter decisions
The finished countertop height, sink area and cabinet positions set the boundaries for the backsplash. If you are refacing, discuss how the new look relates to retained counters. If counters are being replaced, confirm their dimensions before final tile installation.
Next step
Photograph the entire wall, not just one attractive tile sample. See our backsplash planning guide and share your kitchen with us.